Canali di Venezia, encaustic on birch panel, 16″ x 16″, Marion Meyers, 2016 –
I’ve always loved to paint urban and rural landscapes and in oil painting landscapes are a common subject. However, when I started to paint in encaustic medium I discovered that it’s hard to get those clean edges that you need for the lines, perspectives and boundaries between colours when painting buildings. So I had to create a way to do this with the techniques I’d learned.
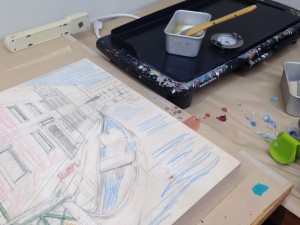
I was working from a photograph in a 2:3 size ratio and my substrate of a birch panel was square (16″ by 16″) I couldn’t just chop off a bit of the image on each side; I’d lose my gondola guy on the left and the other side of the canal on the right, so I played around and changed the perspective. I do my drawing in pencil onto the birch panel.
I use a ruler and mark my horizon line. Then I add in the detail I think I’ll need for the blocking off of various areas of the painting.
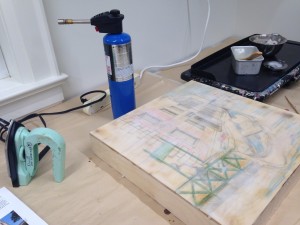
I used coloured pencils in some areas just to help my eyes sort out the image areas because they’d get a but fuzzy as I layered on the base of encaustic medium.I melt the encaustic medium on my griddle. Then I heat up the wood with my heat gun to make it more receptive to the first layers of medium. The medium goes on fluid and hot with a soft, fine large brush. After each layer goes on, I fuse it. For this stage I like using the blow torch to fuse.
For this base of medium, I give the board a quarter turn with each layer, fusing as I go. When I get to the very last layer of medium I also use my encaustic iron to smooth it all out. You can still see my drawing through these four layers of medium. This is one of my favourite parts of the process. The painting must be set aside for the day at this point to harden well.
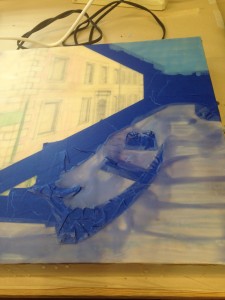
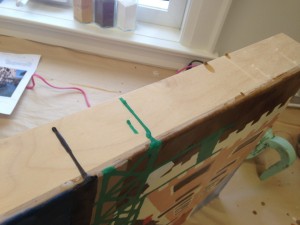
The next day I use painters tape to create an edge for the area of the painting that I want to paint first. Here I’ve taped the edge of the buildings and the gondola next to the sky in the background and the water of the canal in the foreground.
So here’s one layer of colour for the sky and one for the water. I’ll fuse between each layer, building up wax for about 6 or 8 layers of colour. I need this many, as I will be scraping some away and carving into some parts.I’ve got some paint melting on my griddle. I’ll explain how I mix the colours some other time! I’m going for various shades of blue for the sky and water. These first colour layers are fairly solid in colour as I can add colour farther along in the process.
I fuse using the heat gun as I find this is the easiest tool for controlling the heat in very small areas.
And here it is built up with many layers and various hues.Now I’ll peel away the tape, pulling away at the sharp angle to keep the edge clean. The wax needs to be a bit soft to do this, so you can’t build up areas of wax and walk away for an hour and expect to be able to come back and peel it up. It will be very hard.
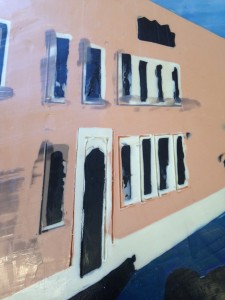
Using my print out of the photo, I work out a plan for what order to work. I need each area to harden for a day before adding a colour right next to it. This helps to prevent colours from bleeding into each other.So following the plan of what to do next, I’ll mix more colour and medium and mask off areas that are next to where I am filling in the painting. Because I have to fuse each of the six or eight layers, I need to protect what’s already there and keep paint away from where another colour is going.Building up the smaller background areas may be a good idea at this stage so I’ve done the window frames and fence = very fussy! For those little wee fence strips I use an razor blade to cut strips in my tape, and I use a couple of layers of tape to make it stronger. I’ll do all the verticals first, then horizontals and then the ones on the diagonal – yikes – it helps for when you peel it all up.Masking off is tricky work – you can see that you need to be precise and why I did the drawing underneath it all.8 layers of wax with colour – you can see that I’ve done doors, windows, the side wall, the building in the distance and part of the dock, leaving that middle ground for the end.
When I start painting in an new area, it needs a bit of warming up with the heat gun.I often fill in window areas first and then fill in around them another day. These windows and doors were masked off first and then I start to paint in the stone facade.
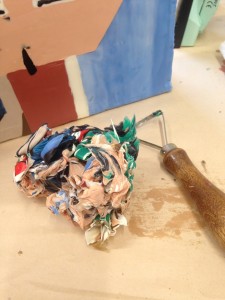
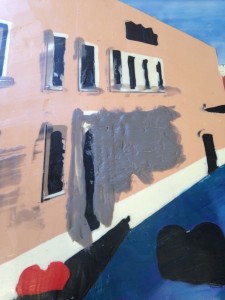
The colour blocks are done and you can see that the surface looks bumpy with some edges higher than others.I heat up areas of the painting of about 4″ by 4″ and very carefully scrape up those bumps and rough edges, revealing the sharp clean lines of the original image.After scraping the surface level away I’m left with a fairly flat and even surface. This is physically hard to do and I must be careful not to gouge any holes. It takes a long time to get the whole surface done. The painting isn’t attractive at this stage and it’s hard to keep motivated.This is the best time to scrap away drips on the sides and use a hot iron to melt away wee bits.
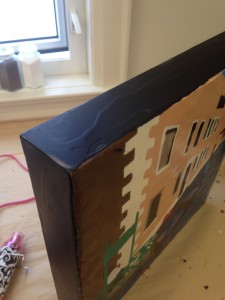
These lovely panels have deep sides and I could leave them blank so you see the natural birch. I choose to paint these black as I think it gives nice profile to the painting. These panels aren’t meant to be framed. I build up the wax on the sides using an ugly mix of all those scraped up bits and do the final couple of areas in pure black.Now I can add some detail. I use metal dental and pottery tools to carve out fine lines for window sills, water pipes, shadows, mortar lines and so on.The next step is filling the carved bits, pocking the wax into those gouged out lines.
Now I’m carefully scraping away the paint on top to reveal those fine lines before fusing.I add fine detail with brass tools. I can attach a variety of nibs onto this heat tool. This one acts like a pen, wicking up paint from solid bars of paint. I can draw on those shadows, window grills, balconies, fence posts, waves in the water. This tool fuses the paint on so that I don’t have to fuse – but I can if I want! I also have little brass “paint brush” and it’s good for those larger shaded areas or individual brinks.Almost finished – I use the tips of brushes to paint on waves and other bits. I also use paint sticks to add texture, shadow and colour to various areas. I’ll have to write more about that another time!
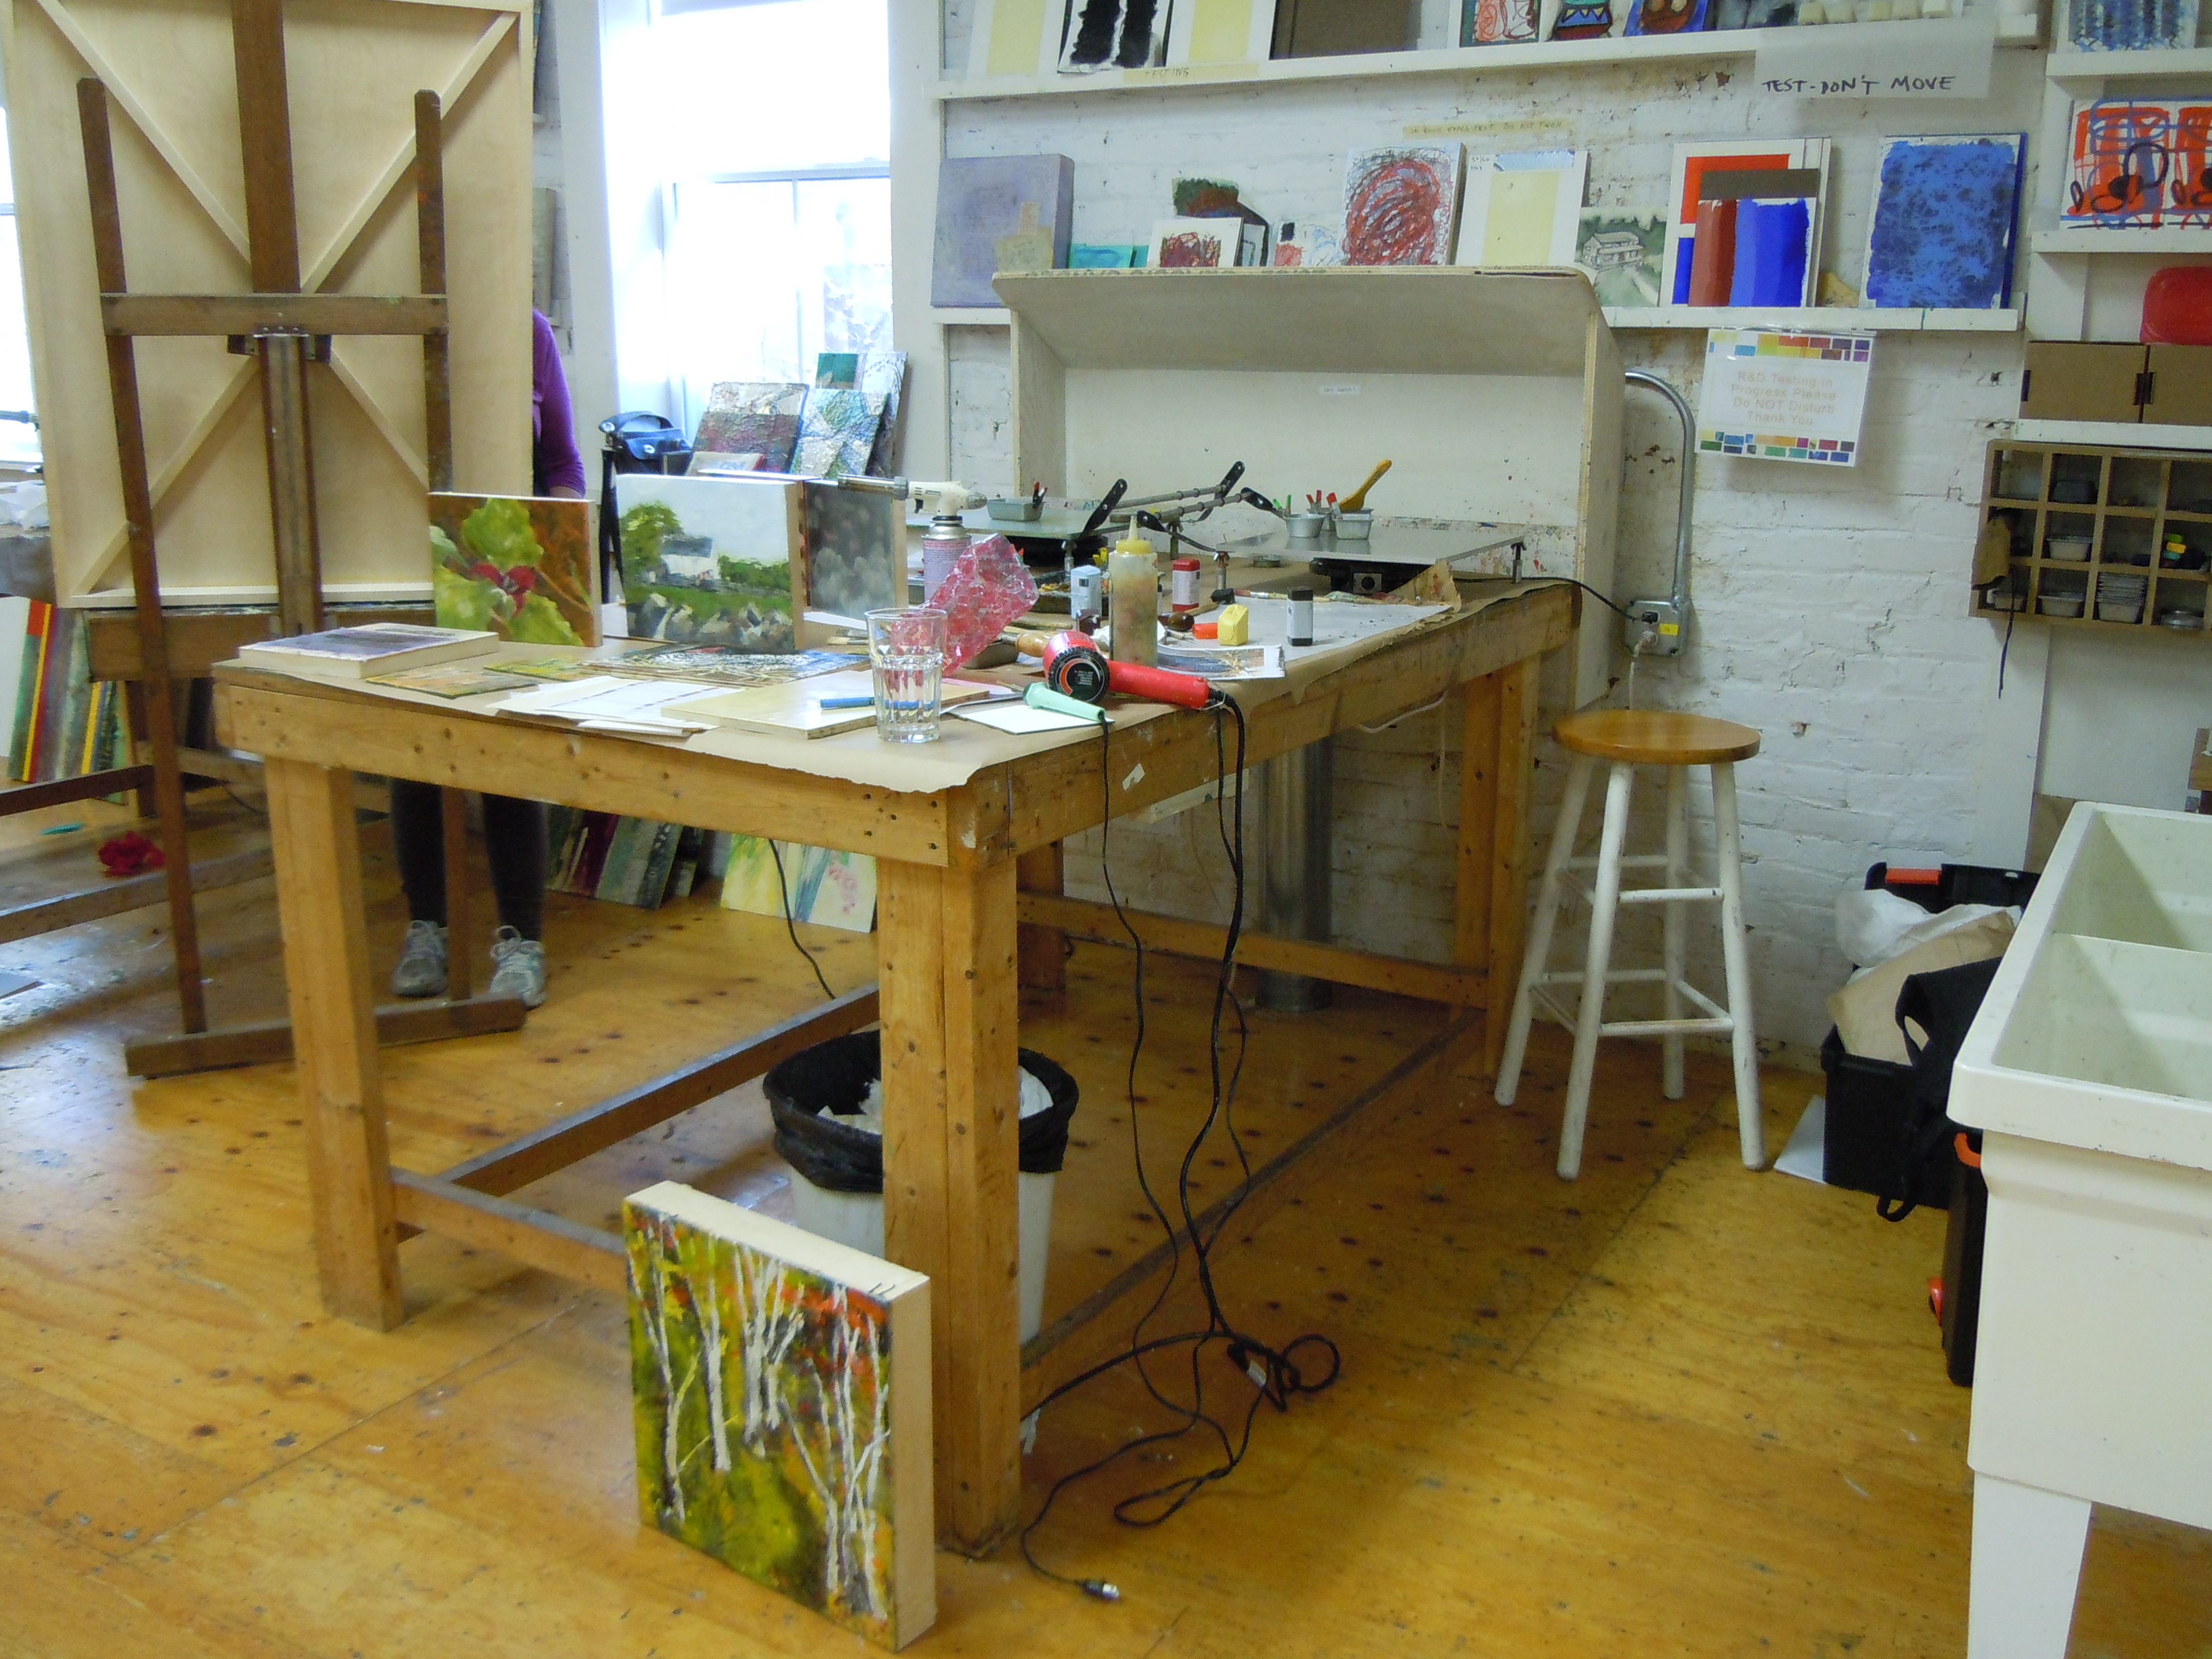
I spent a great week at R&F Encaustics in Kingston, New York, back in the fall.
Some of my work in classes at R&F Paint in New York.My table at R&F Encaustics in Kingston, New York.Look at this fabulous selection of encaustic oil sticks at R&F Encaustics in New York.Experimenting with building up ridges in the wax to look like fluffy feathers on this hen.
I use quite a few different techniques when I paint in encaustics, and have found a unique way to create urban landscapes. I start with beautifully hand made birch panels. And photographs I’ve taken in my travels are my references for drawings. I draw in pencil directly on the birch panels. With these urban landscapes sharp clean lines and accurate perspectives are important and I would lose them if I didn’t have a drawing down first. I then paint on the beeswax and damar resin mixture in thin layers with no added pigment. Typically it’s 6 or 8 layers. I like to work on three pieces at a time so that I’m not waiting around for layers to solidify, ready for the next layer to be added. I use painter’s tape to mask off areas of my underdrawing and then layer on the colour! Usually 12 layers. The wax needs to be not quite set for me to pull up the painter’s tape to reveal the sharp clean edge. Once this is allowed to harden another colour will go beside it. By laying on many layers I get a thickness that can later be carved away to reveal nice sharp lines.
Up This Way #2 Encaustic on Birch Panel 8″ by 8″ Marion Meyers 2013 $300